Basement Renovation Journal
I’m going to keep a record of our progress on the new downstairs rec room. Mostly for myself.
Pre-Construction
The basement renovation consists of three parts:
1. Replace the radiant floor heat, which requires a new concrete floor.
2. Reconfigure the room dimensions, replace old walls, add cabinets.
3. Lay new carpet, add new paint, get new furniture.
Part 1 will be accomplished by G.F.Bowman plumbing and heating, and Cumberland Masonry. Part 2 will be accomplished by Deimler & Sons Construction. Part 3 will be accomplished by Essis & Sons carpet and us.
Room Preparation
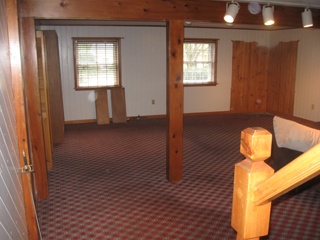
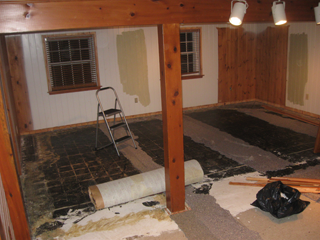
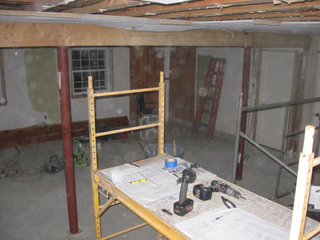
We did some basic prep for the construction, the most we could accomplish by ourselves, and also with the time we could devote. The prep was mainly getting the old carpet up, and as much of the pad as we could (some was adhered to the cement and proved stubborn). We also pulled off as much of the carpet tacking as we could, cleared as much old tile as possible, and removed the old thresholds. We removed the baseboard trim from the perimeter of the room, and pulled off as much window and door trim as we could. While we were also planning to remove the old tongue-in-groove wood paneling, we found that we couldn’t get the time to remove it all.
Floor Work – Construction Day 1, Dec. 8
Sadly, there are no pictures of what was essentially a half-demolished floor after the first day of drilling & cutting by Cumberland. But day 1 proved to be the most anxiety-producing of them all!
The fun started when Cathy noticed a gurgling sound emanating from the baseboard heaters. She then discovered that there was no water from our taps. As we found out, the demolition crew had sawed through a water pipe buried in our floor. While we were aware of pipes going into the floor, we did not realize these were LIVE pipes, carrying water. As I rushed into the room, I saw a puddle forming in the front half of the room. Cursing under my breath, I looked around for the problem, soon discovering water spurting out of one of the freshly cut grooves. We placed a call to G.F.Bowman, who was coming to do the heating, and they talked us through shutting off the water and checking the heating system, and arranged for an emergency call. We also found that they had sawed through the existing heating loops, and while this was not a critical issue (since they were being replaced), they did drain out and may have compromised the heating system. While we waited for the plumber, our demolition team left to fetch their cutting tools (jackhammers) to better clear the area where the pipe was cut. When the plumber arrived, it was a relatively easy fix to get our water restored, and he remained for the afternoon to purge and refill the heating system. He also gave us some advice for dealing with the existing plumbing and heating. Cumberland Masonry also discovered that using the cutting tools was a much faster way to break up the concrete, and we decided that they would just use those for the remainder of the job. So even though we felt that we’d blown it only 3 hours into the project, at the end of the day there were no real problems, and we were still on schedule.
Floor Work – Construction Day 2, Dec. 9
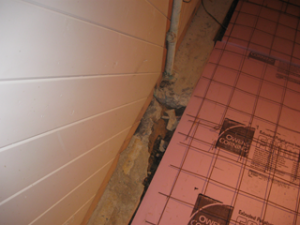
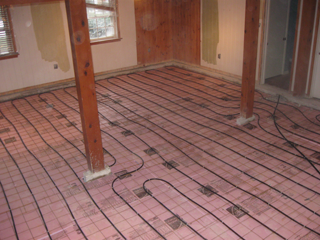
Day 2 started with the removal of the rest of the floor. The only snag here was failing to ask the crew not to cut while the kids were home: When the jackhammering started, there were two upset little guys! The digging and removal was finished just after noon, and the remainder of the day was spent laying down the insulation (to prevent heat from the in-floor pipes from escaping into the ground) and some rebar. One nice occurrence was the discovery that the drain in the floor was in fact a “french drain”; it was a pipe that simply went into the ground, rather than additional drain pipes. The drain was removed and the area leveled. The loudest and messiest part of the job was over.
Floor Work – Construction Day 3, Dec. 10
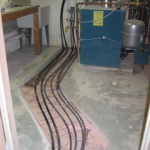
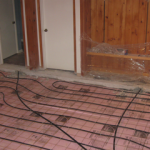
On Day 3 G.F. Bowman arrived to lay the heating pipe in the room. One suggestion given to us during our water pipe incident was to cut a channel from the main room back to the existing feed lines for the in-floor heating, and run new pipe back to the wall and re-route the pipes coming from the boiler. Cumberland Masonry did the cutting, and Bowman set up the new governors at the end. The new pipe is PVC, not copper, and less likely to crack and leak, as was the case with the old heating loop. Another task was to re-connect the working loop under the guest suite to the feed lines, since they were cut and removed with the floor. We hoped that the existing, working side was still working when the heat was restored, and not jostled too much during the replacement. The floor is ready for a fresh layer of concrete.
Floor Work – Construction Day 4, Dec. 11
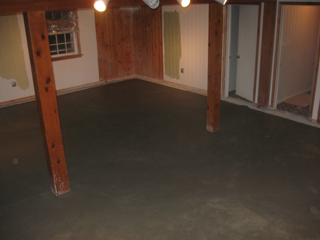
Concrete pouring day. The big cement mixer backed into our driveway and the concrete was carried in. After several hours the new concrete was smoothed and ready. A few hours later the floor had dried enough to be walked on. This was a quick and easy task, and the only issue from the new concrete was the high humidity in the house: as the concrete cures, the moisture gets released into the room. All around the house we found condensation on windows, on uninsulated walls, and on metal switch plates. The moisture lasted for the most part of the next day, but by the day after that the house was back to normal. With the floor done, it was time for Deimler & Sons to begin the task of reworking the room.
Room Work – Construction Day 5, Dec. 14
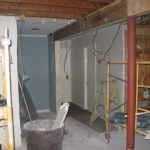
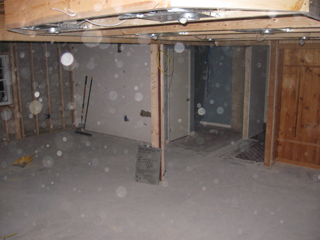
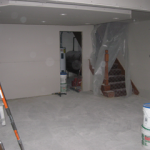
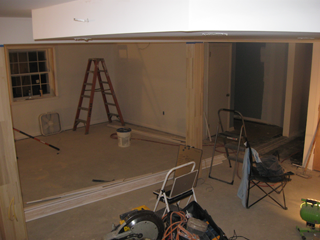
First day for the room itself. This primarily consists of demolition. The demolition is mostly the walls themselves, but also the ceiling and the column wrapping. Lots of dust kicked up from the concrete, but less dirty than the concrete work. We also had some consultation on the exposed drain pipe in the room: It looks like we’ll route those pipes into the mudroom. The start of the demolition also began what we’re calling “Hm, that’s interesting” moments. When elements of the room are removed, the contractors might say, “hm, that’s interesting…”, usually accompanied by the sound of cash registers in our head. There’s always parts of the job that, until it could be seen, will need to change.
Room Work – Construction Day 6, Dec. 15
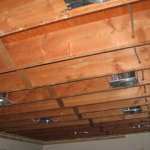
More demolition, including removing the tongue-in-groove paneling. Our first thought was that the wood could be saved, since it was indeed long lengths of solid wood. The contractors, though, were not able to remove it completely intact, so it would be junked. The ceiling removal was finished as well.
Room Work – Construction Day 7, Dec. 16
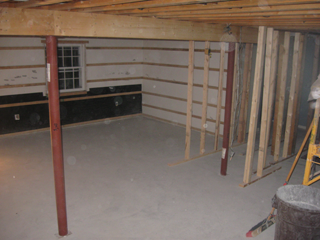
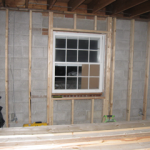
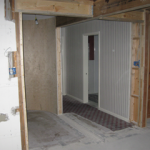
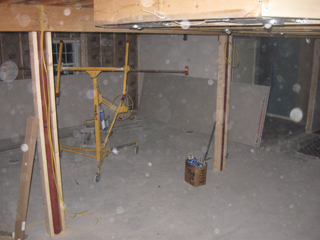
More demolition. The wall between the main room and the mudroom was removed, to make way for a new concealing wall for the pocket door. The window-side wall was also examined – “hm, that’s interesting…” As was discovered, there was no insulation behind the existing wall – just a concrete foundation wall with the exterior brick on the outside. Another reason the room was cold. So to remedy this the existing wall studs are to be removed and a new wall frame constructed from 2x4s, to provide enough space for sufficient insulation.
Room Work – Construction Day 8, Dec. 17
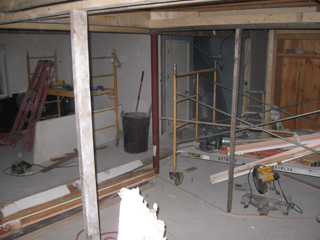
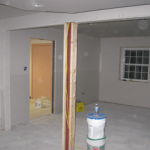
A big demolition day – the dividing wall that created the “rabbit’s warren” hallways to the stairs and guest rooms was removed, and, as you’d expect, “hm, that’s interesting…”. Spanning the center of the room was a triple-board header beam, supported by the two posts in the center. The thought was that the beam continued along the length of the house, as a center line support. However, when the wall was removed, there was in fact no supporting beam, and a wooden post at the end of the existing header beam, inside the wall. Deimler had already built in some work to strengthen this part of the room with additional beams, since the wall was going to be lost, but discovering that there was no additional header meant constructing a new header to place there. The crew built several supporting frames to bolser the floor while the new beam was built and installed. Additional framing would also be built to allow the wooden post (which was smack in the middle of the newly-opened space) to be removed. Not having an engineering or construction background, I get nervous about things like removing supporting beams or supporting floors with simple framing, despite the assurances by the professionals. I found an analogy from my wife’s line of work: Imagine a surgeon just casually saying, “OK, we’re going to cut open your chest, route your blood over to this machine here, and patch up the hole in your heart while it’s still beating.” To a layperson it sounds scary and dangerous, but to the surgeon who’s done this many times before and has knowledge and training on his side, its less intimidating than it sounds.
Room Work – Construction Day 9, Dec. 18
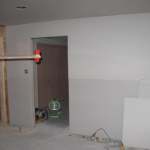
As we reached the end of the week, there was lots of major room changes. The new header was installed into the opened landing. The wall separating the furnace room and the main room was gone, preparing to be re-framed and the door relocated. The far wall is prepped for framing.
Room Work – Construction Day 10, Dec. 21
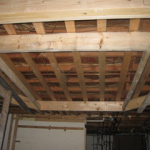
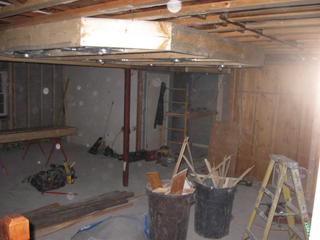
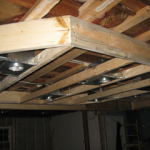
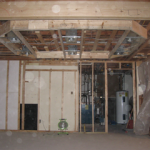
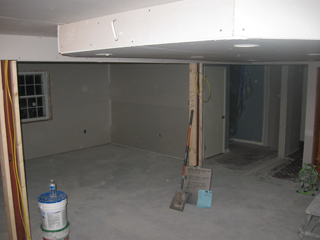
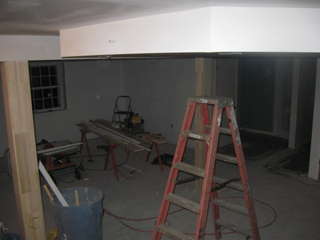
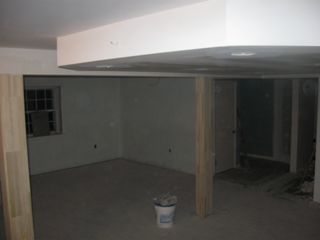
Monday was another day of preparing the walls, with the most signifcant part being the arrival of the electrician. He began routing the wires for the new lighting, switches and outlets. The canisters for the recessed lighting were installed into place, with one having to be installed creatively to avoid the need to re-route heating and water pipes. More work on the new header, and the support framing was removed: The second floor remains above the first! Also, construction began on the “cloud”, a protruding platform in the ceiling in the near side of the room to help create a “seating area” where our couch and chairs will go. In our initial design idea this was to be a “pan”; a recessed area within the ceiling. But on discussion with our contractor on the mechanical difficulties of attempting it, we opted for the inverse “cloud” idea. The feature will be a framed box wired with small spot lights and strip lights within the moulding around the edge. The strip lights will illuminate upwards and give a moody, low light glow for movie watching.
Room Work – Construction Day 11, Dec. 22
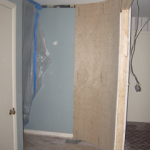
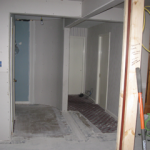
The far wall has been torn down and the new frame assembled and installed. All that is left is wiring and insulation. New cross-headers have been installed in what were the doorways of the old hallways to further strengthen that area. We also discussed a change in plans for our lighting. In the original plan, it was thought that the new, open landing area would contain a single, centrally set surface fixture. But with the necessity of the new header, installing a fixture in the center would not work. Instead we opted to leave the lighting setup as it was, with a light on either side. We did inquire about adding a new switch for the bathroom-side light next to the guest room door, but this will depend on how difficult it would be to fish the wire to that spot. The closet between the open landing and the storage room door was shortened, to make it evenly sized on the sides. A curved wall section was installed at the corner of the shortened wall and the stairwell wall, to provide a gentle lead-in into the rec room space. The electrician continued running the wiring and cleaning up the circuit breaker boxes – there were several dead lines in the old box that were removed to make space for lines in the new room. The cloud has been affixed to the ceiling beams, and the spot cans were installed.
Room Work – Construction Day 12, Dec. 23
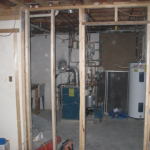
Short day, mostly spent tidying up items in preparation for the long holiday weekend. The framing for the boiler room was finished. It was at this time that my wife and I, looking over the room after the crews had left, noticed that the cloud feature was off center from the two supporting posts in the room. We were not sure why this was, since the plans showed the cloud at about the same width as the poles and positioned evenly between them. We left a note for our crew to let us know, in case there is a technical reason for this.
Room Work – Construction Day 13, Dec. 28
Since we were traveling home from holiday visits, we got the jist of what was done, mostly continued framing and prep for the upcoming insulation and drywall. More exposed wiring was cleaned up and, according to our project leader, the drywaller inspected the room and figured out his install plan.
Room Work – Construction Day 14, Dec. 29
A lot going on today! The electrical inspector was by to ensure the work is done properly, and we got our “clean bill of health”. The framing of the mudroom pocket door continued while I finished running my speaker wire. It did not help that I was continually tripping over our carpenter’s plumb line (if it were a trip wire, we’d be blown up several times over!). The final work was done rebuilding the cloud in situ, to get the two sides to be centered between the posts (as per the plan – they did realize it was installed incorrectly). But I did notice that when viewed against the center header beam it looked slanted. Although with the level the two were only barely off-level, they were slanted at opposing angles, which emphasized the difference. The carpenter shimmed the side, and now it looks level with the beam behind it (while they are both off-level, it looks even).
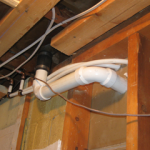
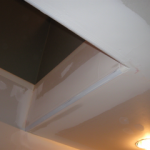
Meanwhile, G.F. Bowman arrived to work on the exposed pipes. Unfortunately, there was no practical way to hide the drain pipe behind the wall, so we are forced to build a slightly protruding box from the wall at ceiling level to conceal this work (this is not ideal, but it is less obtrusive than the “odd pillar” effect we had in the original room). The plumber routed the new drain through the mudroom wall, and along the inside of the closet where the washer/dryer is. The water pipes were hidden by the drop ceiling, but the drain is exposed, albeit very inconspicuously.
Room Work – Construction Day 15, Dec. 30
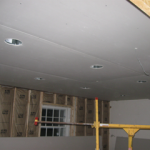
Now the room is taking shape. In the morning I met with our project leader to go over the continuing work. Later on the insulators arrived to add batting to the window-side wall and the exposed ceiling. Right on the heels of the insulators came the drywall delivery, with the long panels stored in the garage awaiting the installer. The installer arrived in the afternoon. I was surprised when one guy arrived to install ceiling wall. He used a hydraulic rack (in pic) to hold and position the pieces. Even as a solo, the entire back half of the ceiling is done in only a couple hours.
Room Work – Construction Day 16, Dec. 31
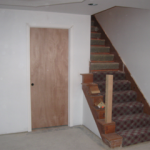
We end the year with the room looking much like it will when completed. The drywallers spent the day placing the rest of the panels onto the walls and ceiling, and wrapping the support beams. They also added the walls to the stairwell. We asked when we could begin painting the room. The installer told us that they should be done with patching and sanding by mid-week the next week. We are going to get our paint and supplies this weekend in preparation.
Room Work – Construction Day 17, Jan. 4
More refinement on the first day of the new year. The drywallers applied compound and joint tape to the open seams and screw holes. This will require a second round of plastering and sanding before it’s completion (and the start of painting). The drywall installers also applied a rolled edge to the stairwell opening for the kitchen stairs. We also received the first part of our trim, and a drywall box was built to conceal the exposed pipes from our plumbing alteration.
Room Work – Construction Day 18, Jan. 5
Little to report on the construction end – still plastering and sanding of the drywall. We were informed that the baseboard trim we selected back during the planning phase is, apparently, no longer available. We therefore had to select new baseboard, which is almost the same as what we picked originally. We also saw that our cabinet doors (for our storage closet) have arrived and await installation, and the first load of crown moulding has arrived.
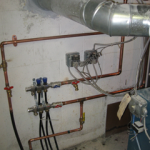
More significant was the arrival of G.F. Bowman to flush and set our heating system, to get the new radiant loops ready to go. This necessitated turning off the heat for several hours (not the best thing when its not much above 20 degrees Fahrenheit), but only Cathy was in the house, so not a big deal. The pipes to the loops were cut and connected, and the old ones removed. The connections look shiny and new!
Room Work – Construction Day 19, Jan. 6
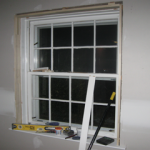
Again, the day is mostly plastering and sanding by the drywallers; we are informed that all of this activity will be wrapped up tomorrow by noon, so painting can commence. We also noted that our windows are now boxed in and the new windowsills are in place. Our newly selected baseboard trim has also arrived and is being cut for the room.
Room Work – Construction Day 20, Jan. 7
The drywalling is finished. and with it the all clear to begin the painting. We stared with cutting in the walls and ceiling, and attempting to remove the wallpaper from the former hallway. Also new was the closet doors, minus the pulls. The crew continues to measure and cut trim for the room.
Room Work – Construction Day 21, Jan. 8
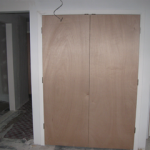
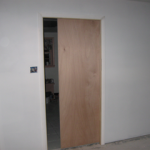
The crew finished with some more cutting, and sanded the wood wrapping the posts. The door to the furnace room and the new mudroom pocket door were hung. Cathy and I pressed on with the painting, finishing the priming of the walls and ceiling.
Room Work – Construction Day 22, Jan. 11
The weekend was spent painting and prepping. The ceiling paint has been applied, and the hallway to the guest room has been further sanded and prepped. We also cut in some of the kitchen stairs with wall color. Today, work continued on the trim. Most of the baseboard is now in place, and work has started on the crown moulding. Cathy and I will be going around the room as the trim is added to spackle and sand nail holes and apply caulk to joins.
Room Work – Construction Day 23, Jan. 12
Today the electrical was scheduled to be completed, but our electrician had a medical emergency the previous evening and had to stay over at the hospital. He’s expected back later in the week. In the meantime, more trim was cut and added. We continued the prep of the baseboard and door frames. Cathy started preparing the post wood for staining: The “butcher block” look of the wood wrapping the posts is interesting, so we’re going to stain it and see if it works out (we can always paint over them if we don’t). We also started applying color to the walls, going around the light switches and outlets.
Room Work – Construction Day 24, Jan. 13
A thoroughly uninteresting day. More moulding. The crown moulding for the cloud fixture is added, and looks good.
Room Work – Construction Day 25, Jan. 14
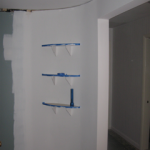
Yet more moulding. We had also discussed adding shelves to the curved wall during our planning meeting. We breached this with our crew, and today we discovered three custom-cut shelves mounted on the wall. Very nice!
